It takes some trial and error to find the ideal marijuana feeding schedule.
You can get an idea from the sample schedule below, made specifically for marijuana plants. It starts during the first week of the vegetative stage of the plants.
Note: Your plants don’t need extra nutrients when they are seedlings because they still get their energy from the seed.
Before giving them fertiliser, wait until they have exhausted that source.
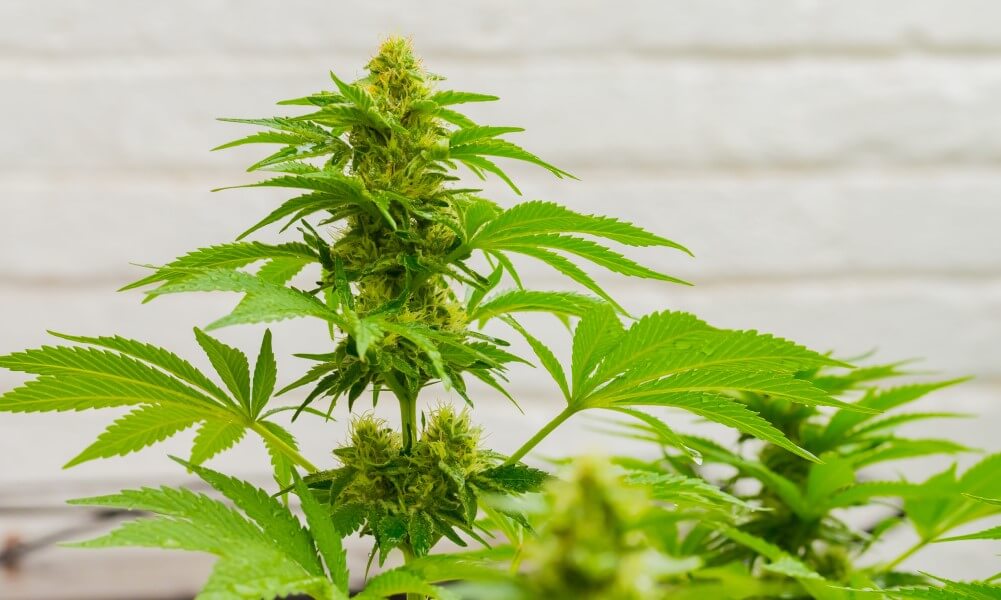
The vegetative phase of the seedlings starts when they lose their cotyledons, or baby leaves, and have developed three to four sets of true leaves.
Stage of Vegetation: Week 1
It’s time to move the seedlings to their new location once they have reached the following stage. Make things easy on yourself by using a pre-fertilised soil blend.
Brands are online and at your local gardening supply store. Pick one with a smooth texture and good water retention and drainage qualities.
Some soil mix brands can adjust themselves to the ideal pH level for cannabis.
This is crucial because even if you feed your plants the right amount of nutrients, they may still exhibit signs of nutrient deficiency if the pH level is too high or too low.
The optimal pH range is between 6.0 and 6.5.
Avoid soil mixtures that have extended or slow-release nutrients or are heavily fertilised. You have more control by manually adding nutrients at various stages of your plant’s development.
Your young plants need a week to adjust to the sun’s power or grow lights. Use MH (metal halide) lights for indoor growers to give marijuana the proper colour spectrum at this stage.
If you have multiple lights in your setup, use only half of them now. Plants should be placed about 40 inches or 100 cm away from lamps.
The ideal light is 18 hours per day, or what we typically experience as daylight during the summer.
Keep the humidity at 70%, the daytime temperature at 23 to 25 °C, and the nighttime temperature at 18 °C.
To keep the right humidity level, mist the plants daily, but water them only every other day with about 250 ml per plant.
Overwatering is one of the mistakes that new growers frequently make. Overwatering can cause root rot and will drown your plants.
Because your plants can still get enough nutrients from the pre-fertilised soil in the first week, there is no need to add additional nutrients.
Stage of Vegetation: Week 2
Turn on all the lights and move them closer to the plants, about 50 cm (20 inches) away, during the second week of vegetation.
Holding your hand beneath the light will allow you to feel the heat and prevent light burn. Your plants will also suffer if the temperature is too high for you.
Keep the lights on for another 18 hours each day. Keep the humidity and temperature at the same levels as last week.
Your plants will start to wave in the wind if you turn on the fan in your grow room and direct it towards the tops of your plants. As they grow, that motion will assist in strengthening their stems.
On alternate days, give each plant 500 ml of water. Now is the time to start feeding your plants some nutrients.
Since nitrogen is an essential nutrient for promoting faster growth, use a fertiliser blend that is high in it. The correct nutrient concentration will be ensured by your target TDS/EC of 500/1.0.
Week 1: Flowering Stage
Change your light schedule to 12 hours on and 12 hours off to simulate this process indoors.
This week is the right time to switch to HPS (high-pressure sodium vapour) lights.
In contrast to the bluish MH light, which is better suited for the veg stage, HPS emits a pinkish-orange light that flowering plants adore.
When your plants are transitioning to the flowering stage, only use half of the grow lights at a distance of 50 cm (20 inches).
The plants can continue to grow with the same high-nitrogen nutrient mix; change the nutrient programme in the upcoming weeks.
Give each plant 1 litre every other day because flowering plants require more water.
Spray the base with the nutrient solution to feed them from below. Make sure the TDS/EC is 600/1.2.
Keep the daytime temperature at 25°C and the nighttime temperature at 18°C.
A fan will stop the grow room from having excessively hot or cold spots by circulating the air.
Additionally, it will assist in keeping the ideal humidity at 60%, which is lower than it was the week before.
Week 2: Flowering Stage
All of your HPS lamps should be turned on right away while maintaining the 12-hour lighting schedule.
The plants will grow quickly, so ensure they are always no closer than 50 cm (20 inches) from the lamps.
Although temperatures are slightly higher at 26°C during the day and 19°C at night, the humidity level should remain at 60%.
Every other day, two litres of water should be given to each plant, and the nutrient level should be at 650 TDS/1.3 EC.
To prepare for Week 3, rinse the soil with 6.5 pH freshwater by the end of this week.
Week 3: Flowering Stage
At this time, flower development starts, and the plants will need more phosphorus to develop buds. It’s time to switch to a fertiliser with high phosphorous content.
The excess nitrogen in the soil is removed, making it easier for your plants to absorb the phosphorus.
Set the nutrient level at 700 TDS/1.4 EC and provide 2 litres of water to each plant. Check that the soil is still slightly moist because your plants require more moisture.
This week’s light schedule, temperature, and humidity are all the same.
Cannabis pre-flowers will begin to appear and provide information about the sex of the plant.
Remember to remove the male plants as soon as you notice them! The females will produce seeds instead of buds if not done.
Week 4: Flowering Stage
Every other day, up the watering amount for each plant to 2.5 litres. The nutrient concentration can also be increased to 1.5 EC.
Maintain the temperature and light schedule, but don’t let the humidity rise above 50%.
Keep a close eye on the colour and shape of the leaves, and immediately get rid of any bugs.
Week 5: Flowering Stage
This week you will see a significant increase in bud growth.
To keep it alive, maintain the light, watering schedules, temperature, and humidity.
At the start of the week, give the plants a stronger 800 TDS/1.6 EC nutrient solution, but at the end of the week, flush them with 6.5 pH water.
Week 6: Flowering Stage
Your plants now need more potassium to aid in the ripening and hardening of the buds.
Use a booster for more potassium in addition to typical bloom fertiliser. Keep the TDS/EC below 850/1.7.
Maintain the environmental conditions and keep an eye out for pests and mould.
Keeping the growing area well-ventilated will help you keep the humidity below 40%, aiding in disease prevention.
Your plants receive all necessary carbon dioxide if the air is properly circulated.
Week 7: Flowering Stage
The buds will enlarge and continue to ripen at this time.
The plants will generate a large amount of dense resin with potent terpenes. It’s normal for the plant’s lower leaves to turn yellow and die.
To prepare for harvesting, reduce the nutrient concentration to 750 TDS or 1.5 EC without changing the light and water schedules.
From Week 6 through Week 8, the temperature and humidity should remain constant.
Week 8: Flowering Stage
Before this week’s start, water the soil thoroughly with fresh water before feeding the plants a weaker nutrient mixture with a 250 TDS/0.5 EC concentration.
A few days before harvest, stop providing fertiliser and only use plain water. Evidently, the soil is ready for the following crop of plants.
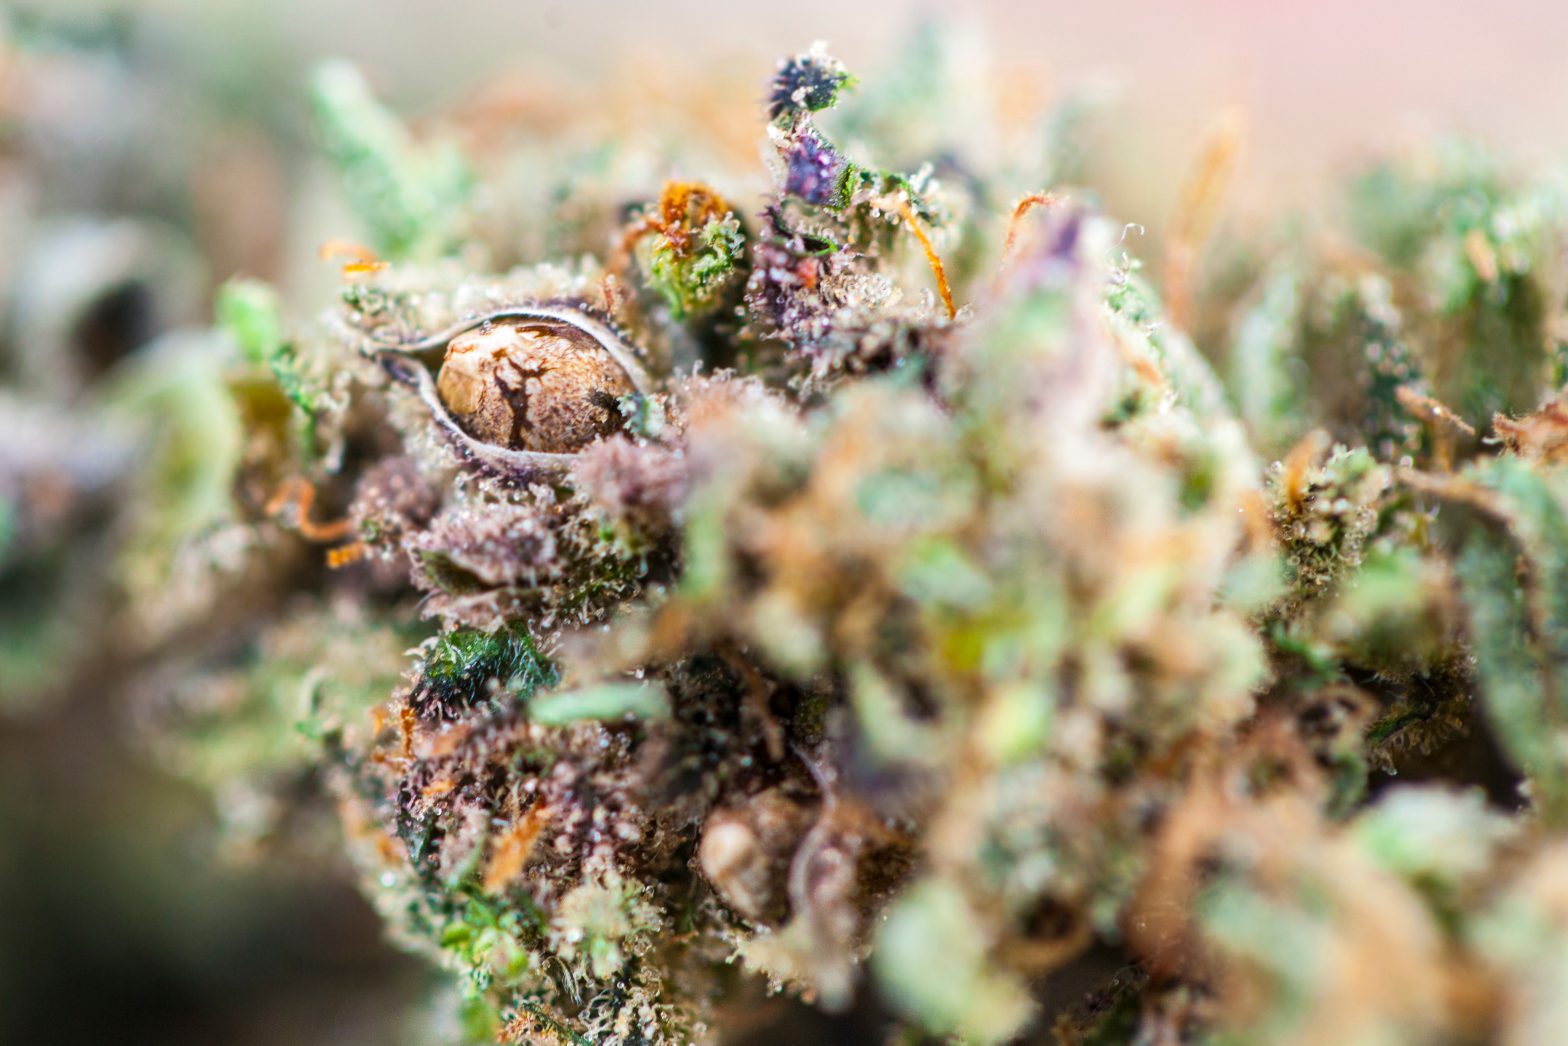
One last reminder: Keep an eye out for bud rot, an infection that is difficult to detect unless you look at the marijuana buds’ cores.
For best results, follow the ideal cannabis feeding schedule.
Your marijuana plants will require various amounts of nutrients at different stages of their life cycles. A cannabis feeding schedule is crucial for this reason.
While phosphorus and potassium are crucial during the flowering stage, nitrogen is an essential nutrient during the vegetative stage.
The critical elements in determining the success of your harvest are understanding how much and when to feed your plants.